

INSTRUCTIONS
The deer heads are supposed to be fixed on a wall, either wood, concrete or brick.
Do not use the head to make a new hole. Use a conventional method with a drill nr. 5 to make a hole into your wall. Insert the screw wall plug, then gently screw the head.

Do not screw it too tight. Choose to leave it a little distant from the wall if the turn cannot be finished until the head is straight.

Fold the flat end of the ear with your finger.
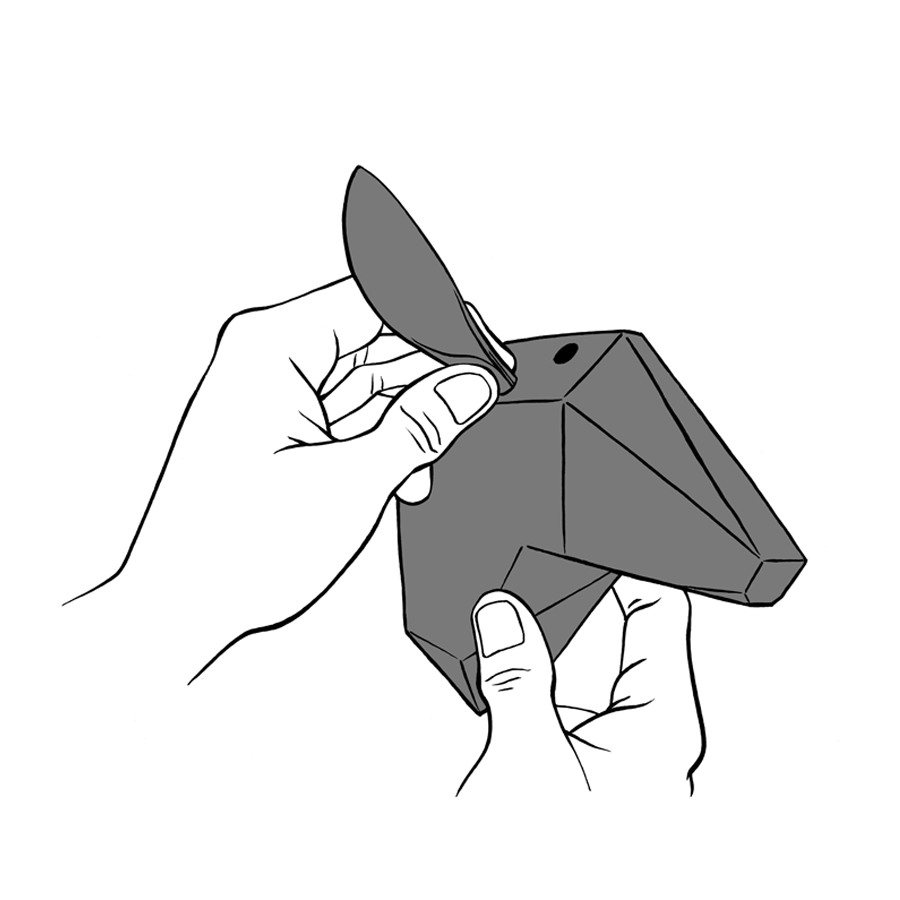
- Insert the ear into the lower hole with the curved shape turned downwards.

- Add branches or anything your imagination can give! :)
- They should fit firmly so the branches stay in the desired upward position.

If the branch is too thick you can carve the ends off until it fit into the hole .

If it is too thin make a small piece of sharpened wood and insert it with the branch too add pressure.
- You can also tape around the end of the branch to create the desired thickness so it fit firmly into the hole.
GOOD TO KNOW
- Handle the deer with care. We do not use any chemical treatment on the surface, coating is fragile.
- Some differences in size, texture and imperfections are part of the story of the wood we like to embrace.
- Not suitable for hanging things over it.
- For the “burned”, “ancient” and black version you can update its shine with a natural leather wax.
- It may happen that when you screw the head out of the wall the screw remains alone in it. That happen because the head was screwed too tight against the wall. You can put the screw back with the aid of a pair of pliers.
- Weight limit has not been tested yet so keep your creativity under common sense size.
- Let your creativity flow!